Taper Bar Evolution
I cranked out a simple taper bar within a week of getting my lathe. It was crude & I intended to upgrade it once I got all the necessities out of the way but you know how that goes. It worked so well, I left it untouched for almost 10 years. Then I saw the clever way some others mounted their bar & it encouraged me to work on a new set up.
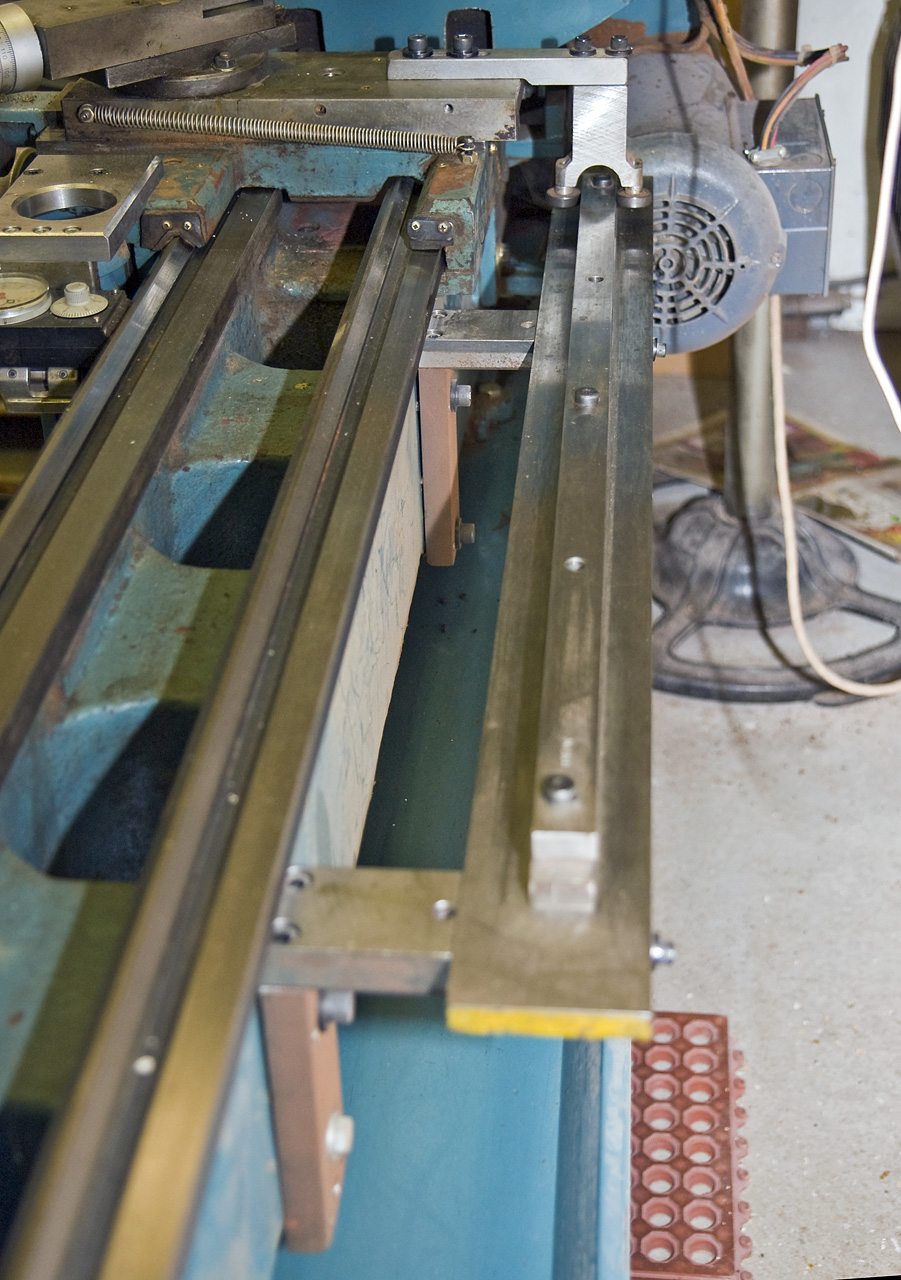
My original set up had a huge vertical misalignment between the cross slide and the taper bar. Sure, it worked - but logic says that the closer they are in alignment, the smoother & more efficient they will be.
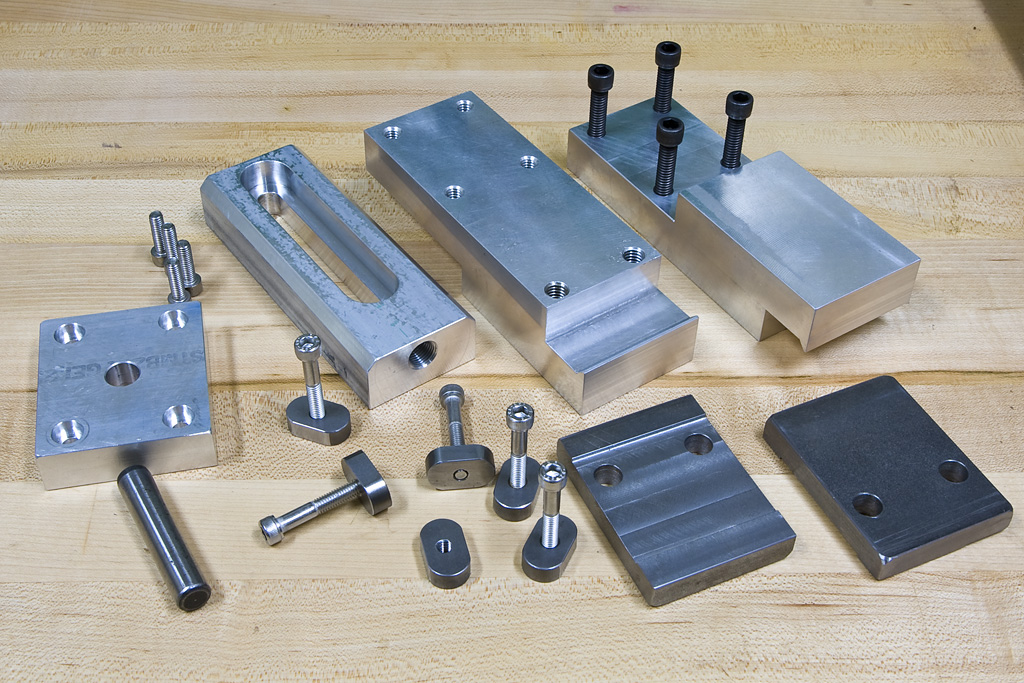
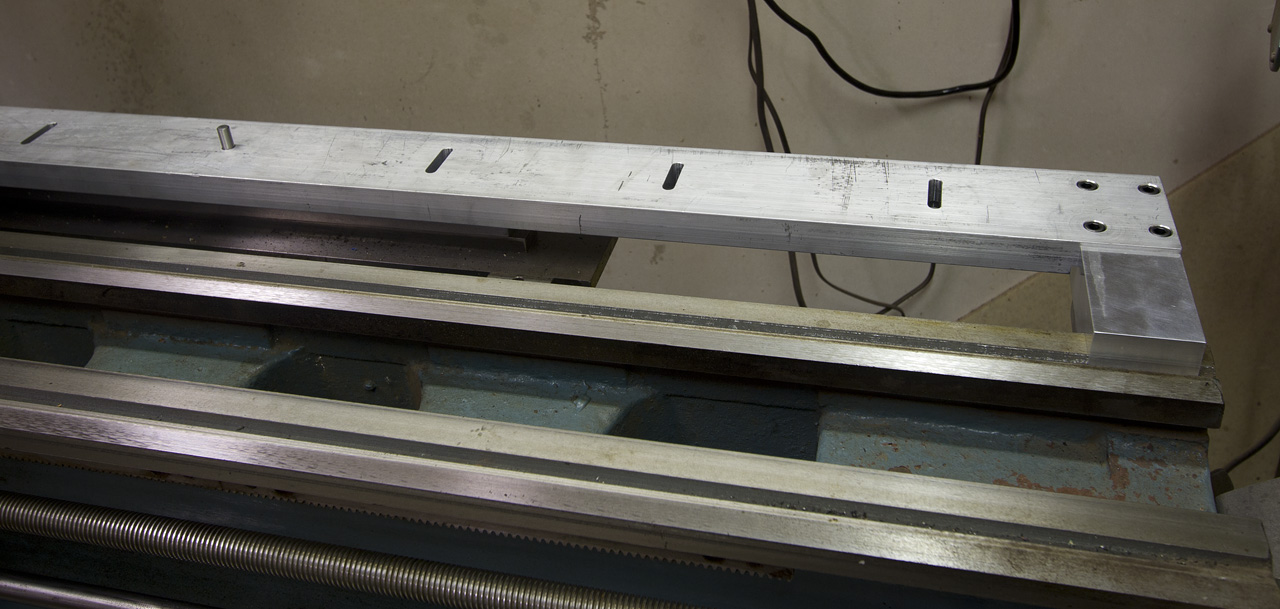
These were the components needed to attach the taper bar base to the ways of my lathe.
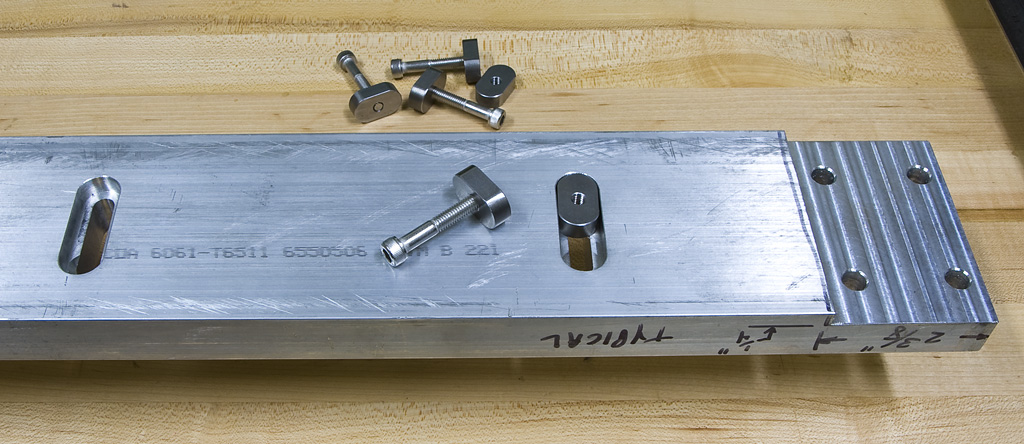
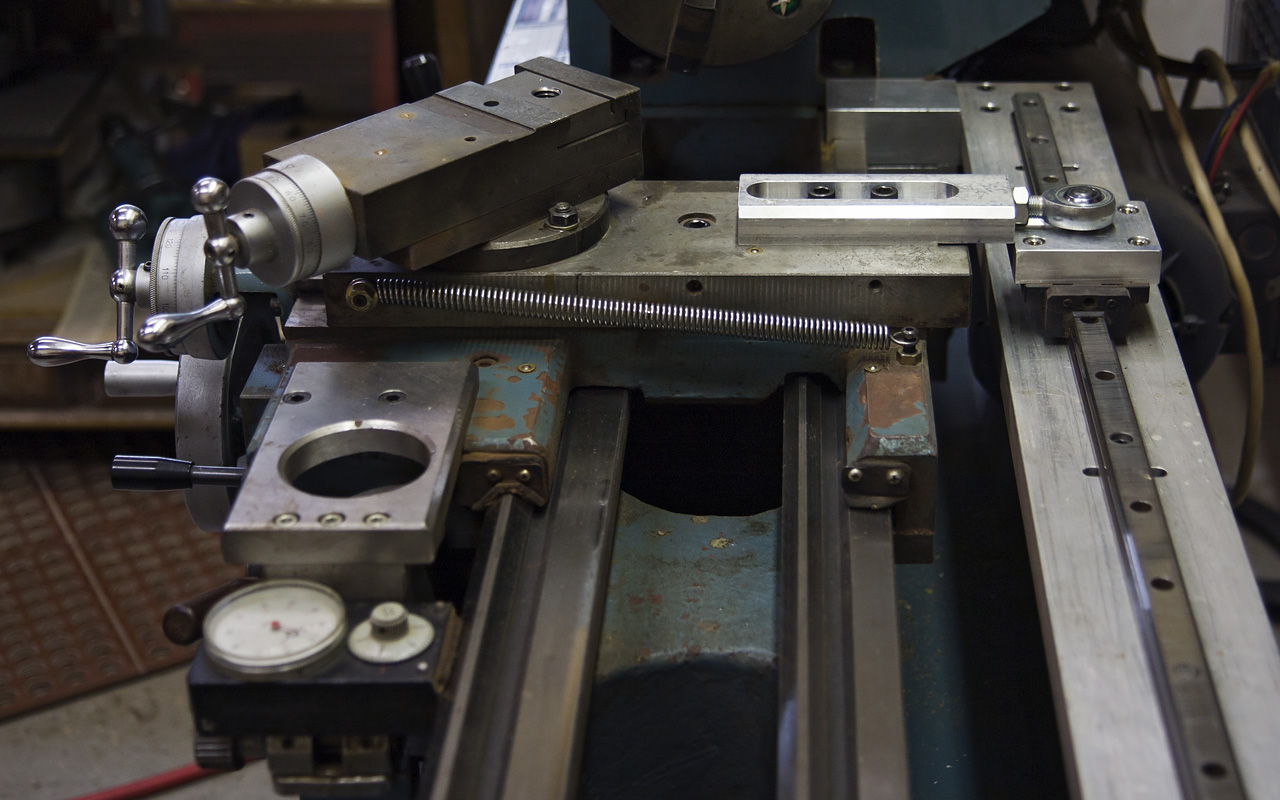
This bottom view of the taper bar base shows the range of adjustment I have to pivot the bar.
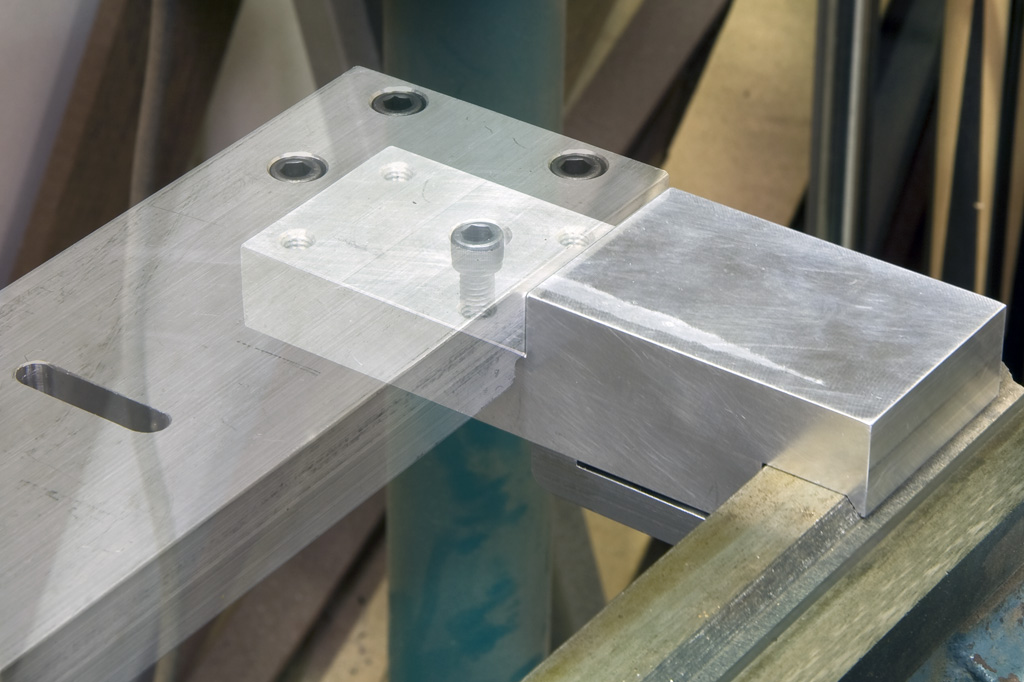
This phantom view shows how the clamp mounts to the ways and how the base mounts to the clamp.
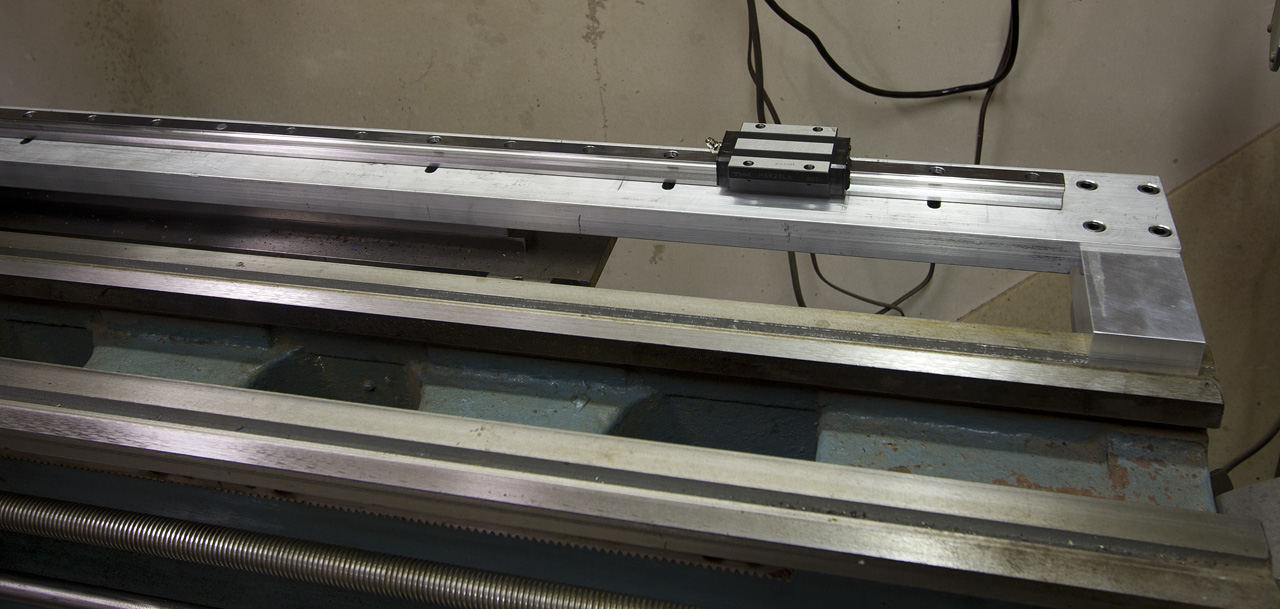
In the left picture, you can see the pivot point of the linear rail. The rail is installed in the next picture. I can now pivot the rail easily about the center until I have the desired taper, then lock it down.
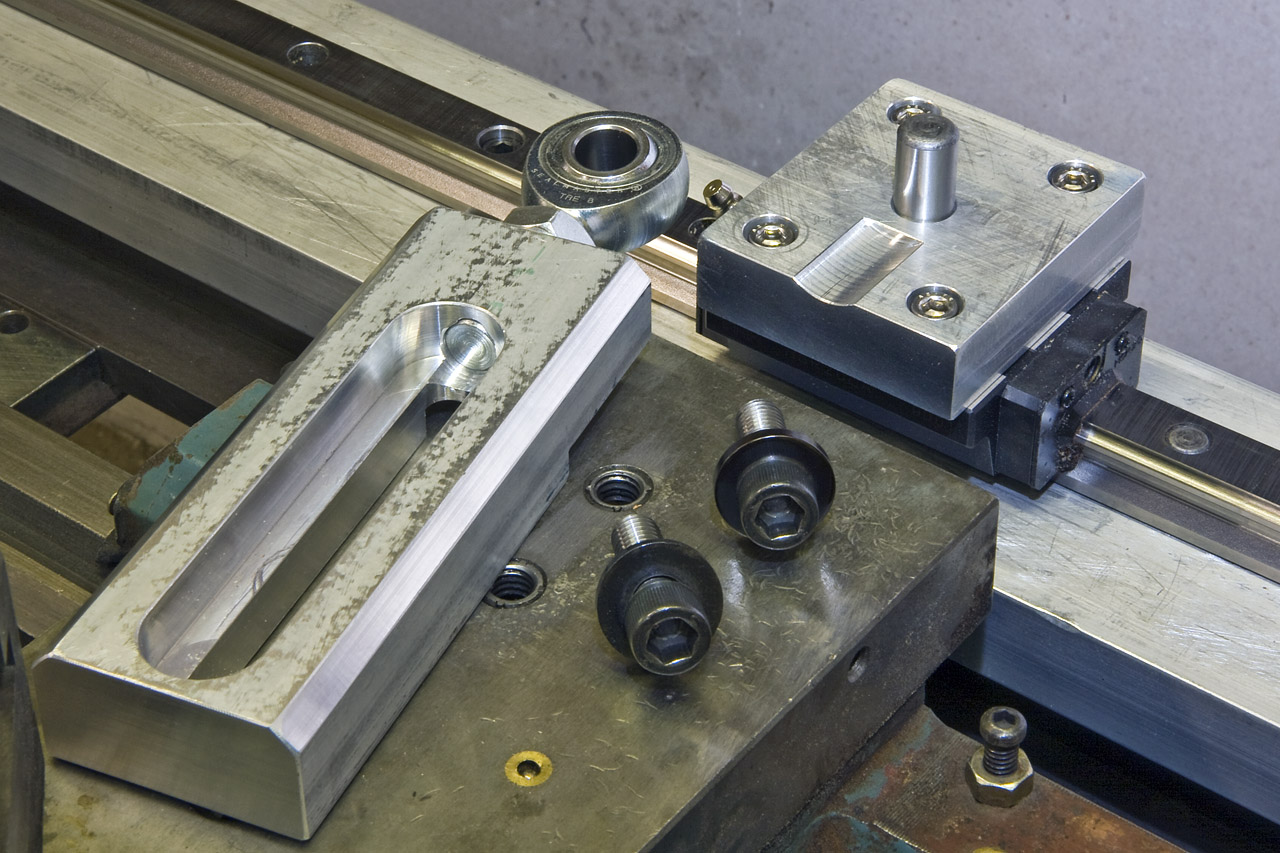
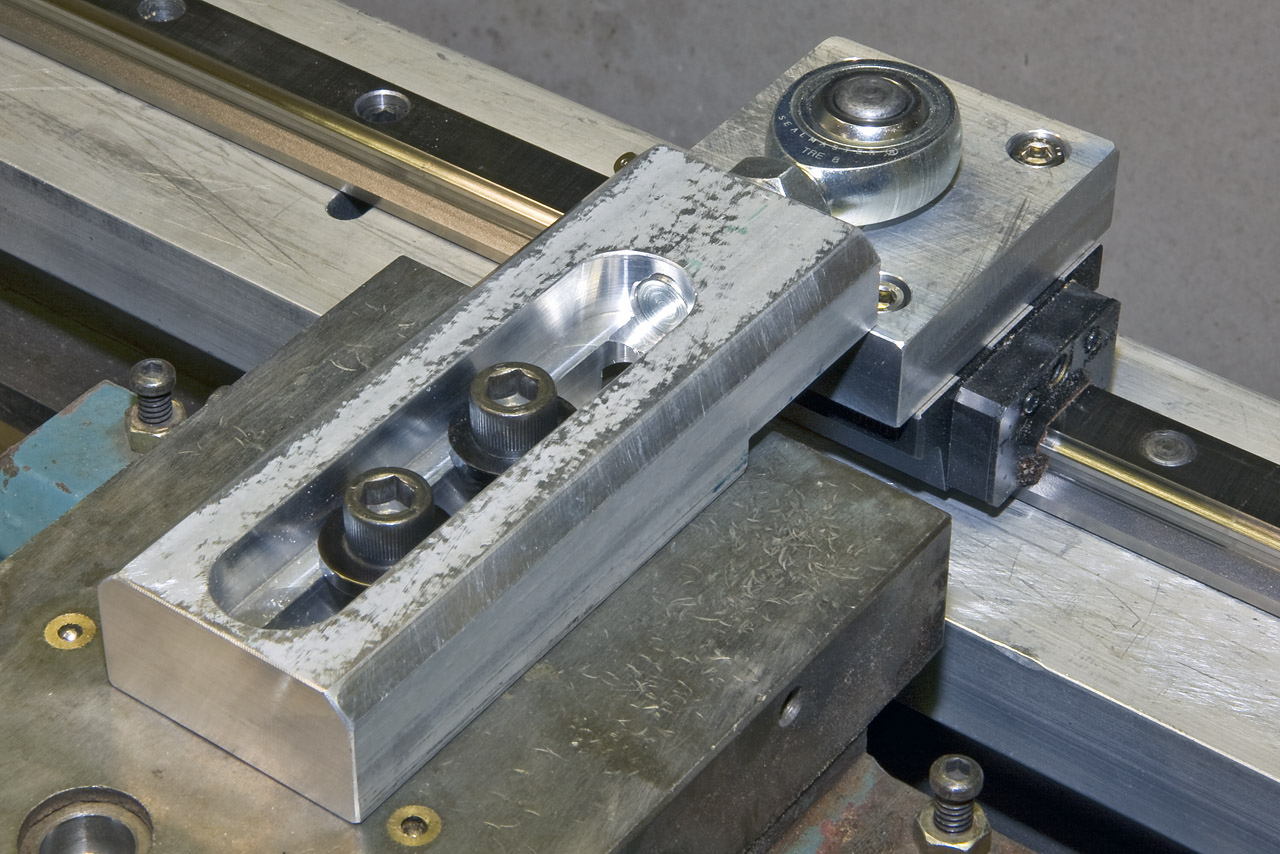
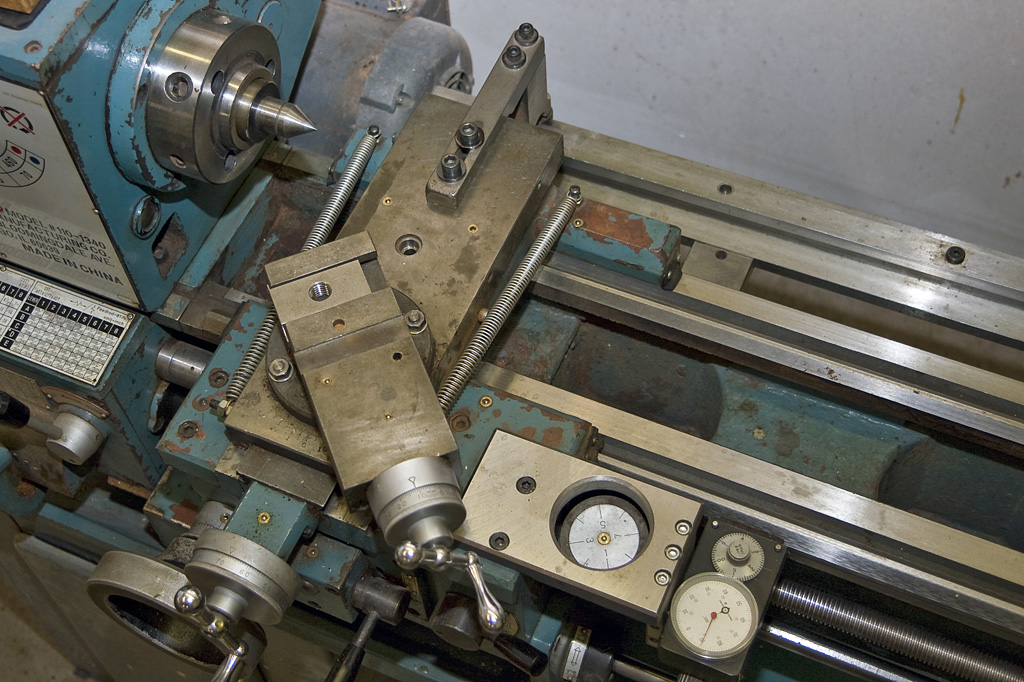
Now I can attach the cross slide the taper bar. The Heim joint provides a simple method of connecting the cross slide to the taper bar while maintaining almost zero slop.
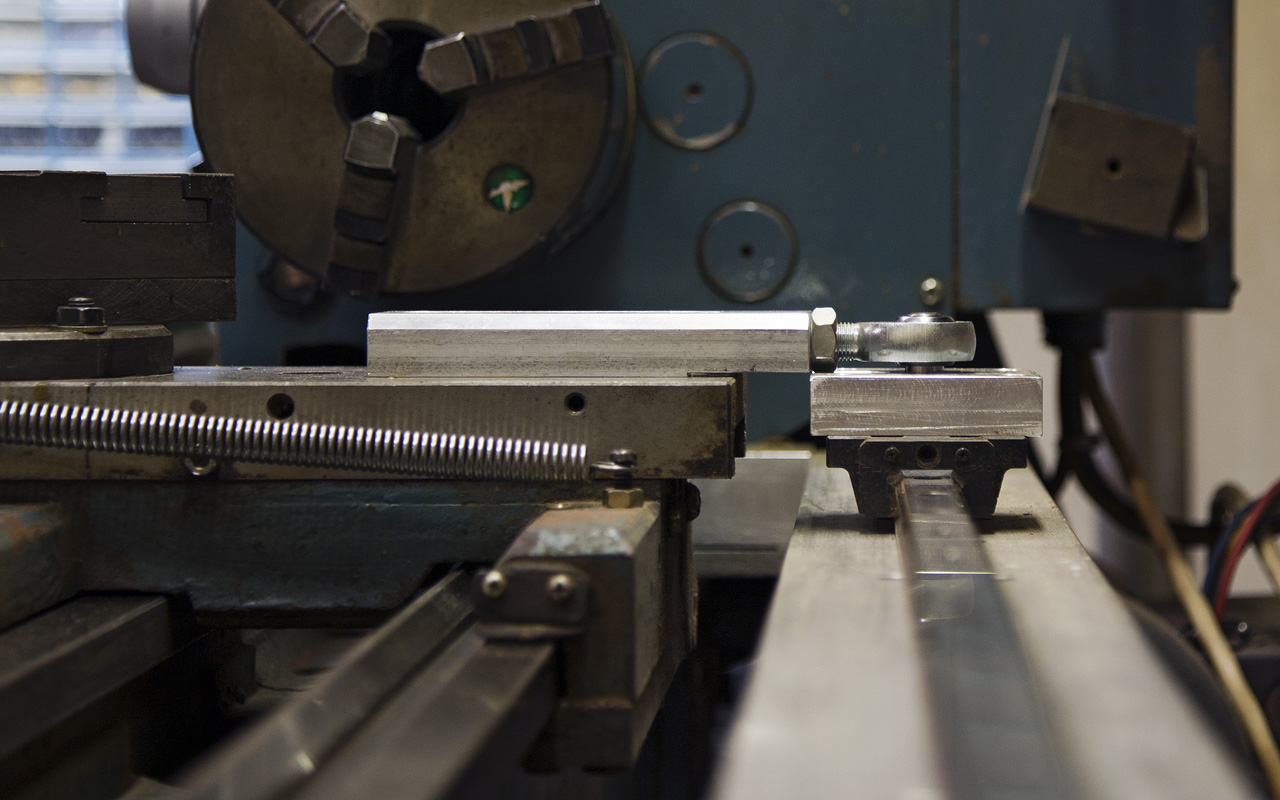
It's easy to see how much nicer the alignment is now. The taper bar is now smoother than ever.