Working with Veneers
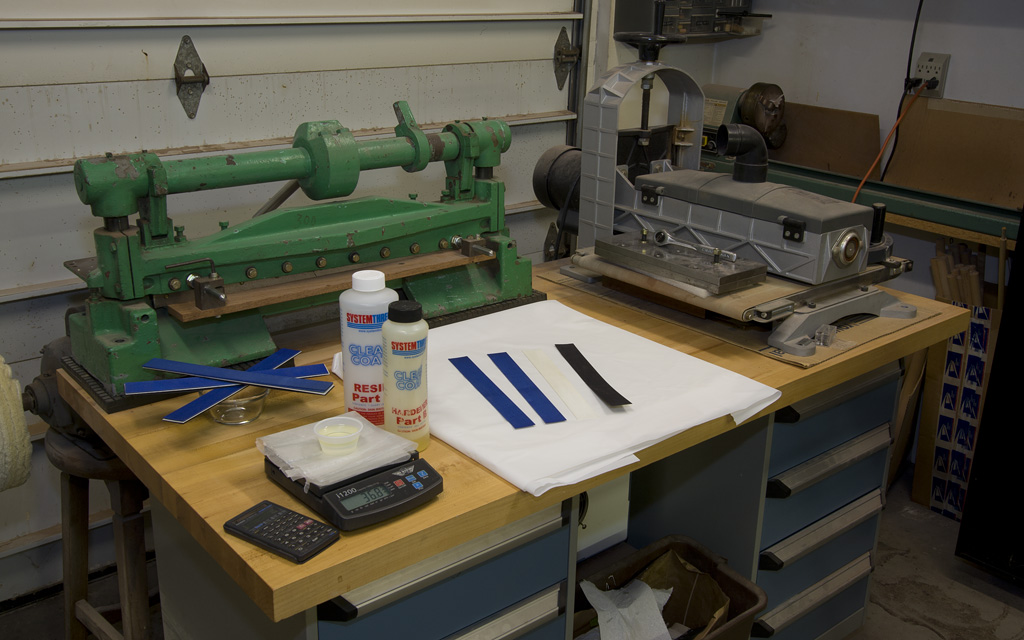
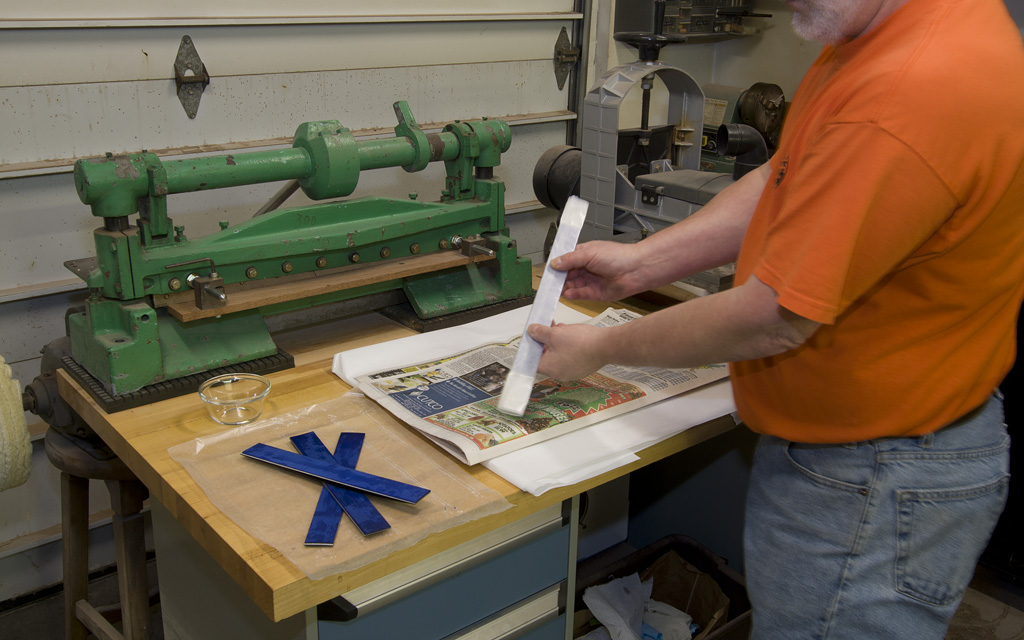
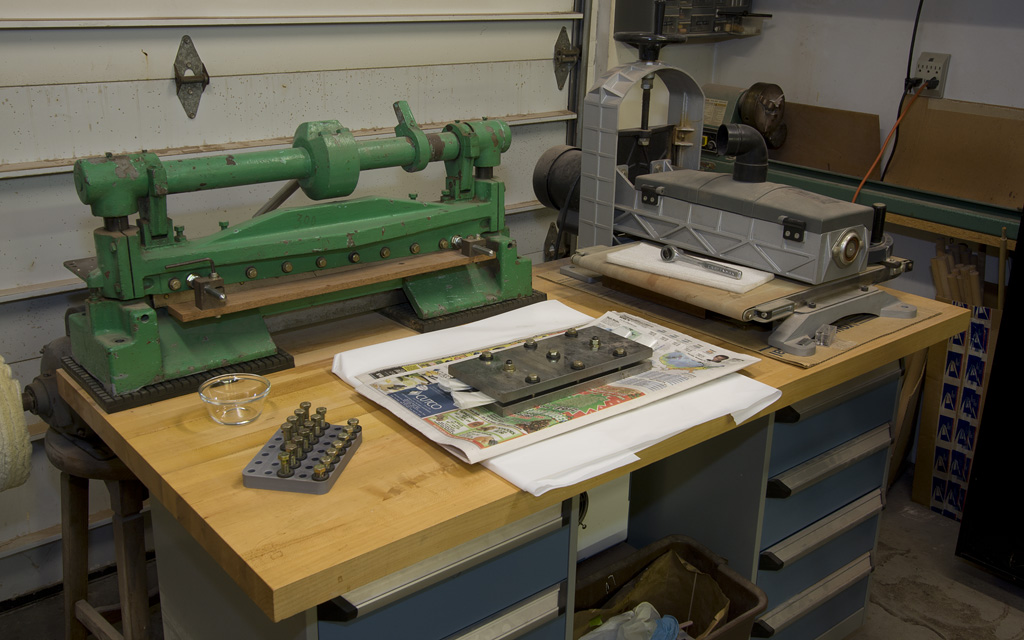
I've already sheared my veneers to length & width on the Diacro shear seen in the background. The epoxy, a digital scale and the veneers are laid out and ready to assemble. I prefer this epoxy when gluing up veneers because its viscosity is thin enough that it is almost completely absorbed by the veneers, transforming them from relatively weak components into a solid lamination. It is critical to get the ratio exactly right with this epoxy but, as with almost anything, the attention to detail makes it worth it.
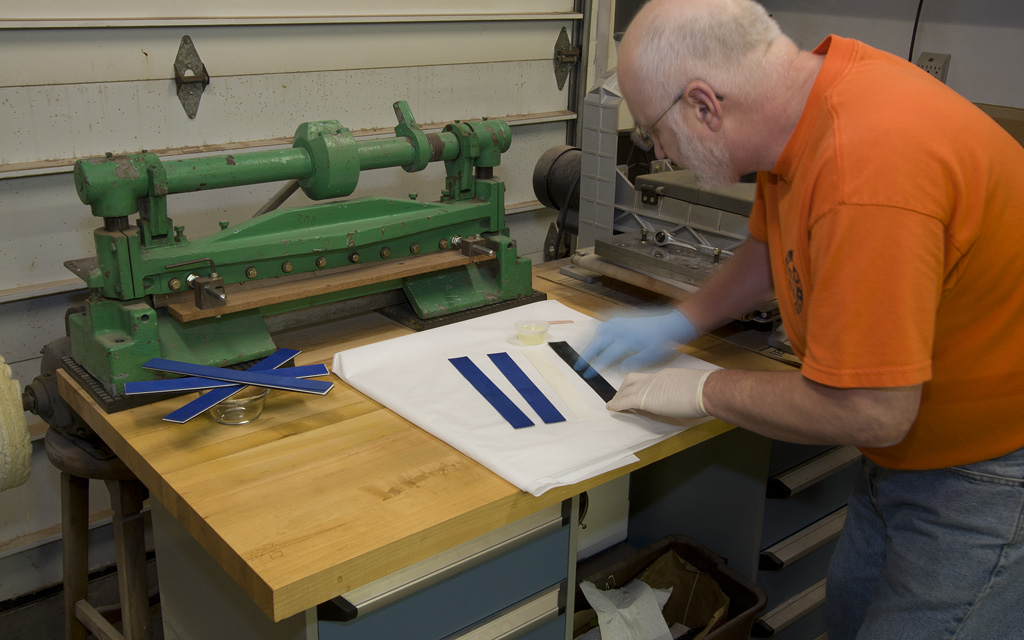
Here, I am applying the mixed epoxy to one side of the black veneer. I will also apply it to one side of the bleached white veneer, going back and forth between each until the veneer will no longer absorb epoxy.
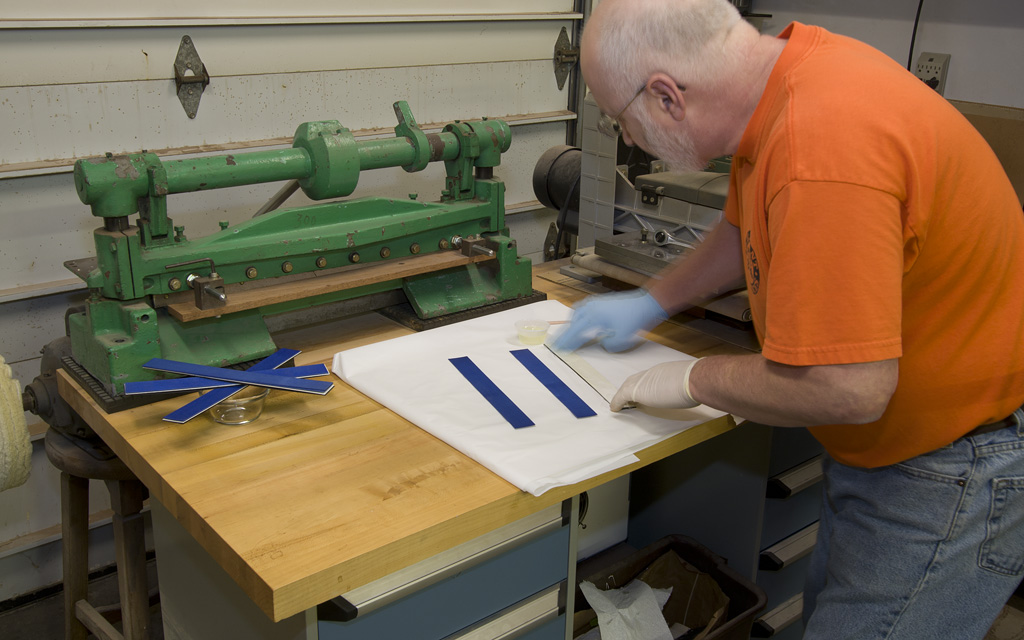
Both veneers have reached the saturation point for that side and I have flipped the white veneer onto the black. I am now applying more epoxy to the backside of the white to make sure it has absorbed all it can.
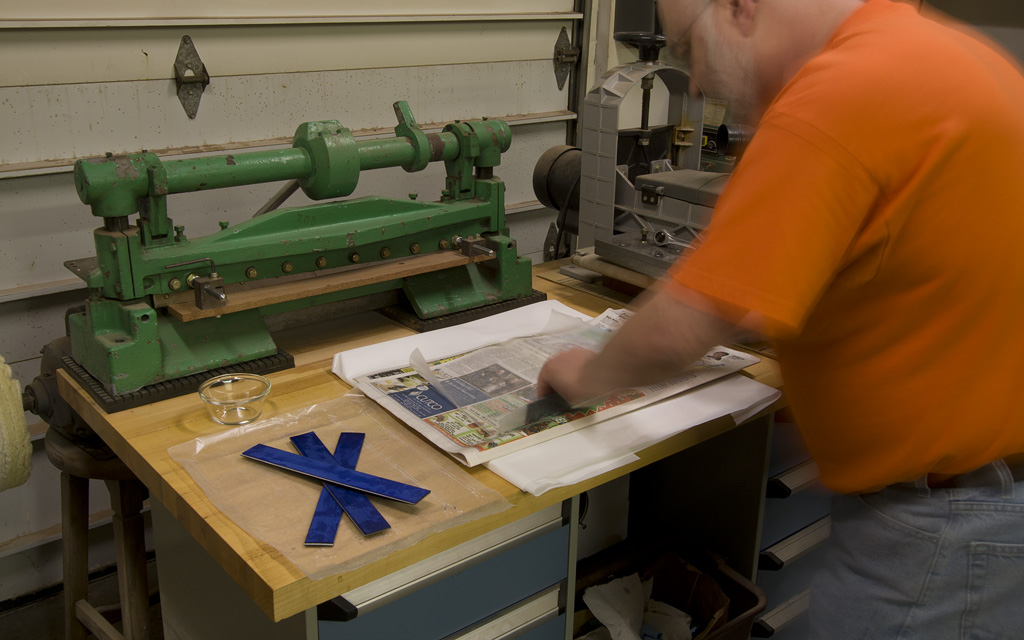
After applying epoxy to all the veneers, I wrap them in waxed paper. This makes it easy to align the edges and prevent any glue squeeze-out that would surely occur when compressed.
This fully wrapped veneer stack is ready to be pressed.
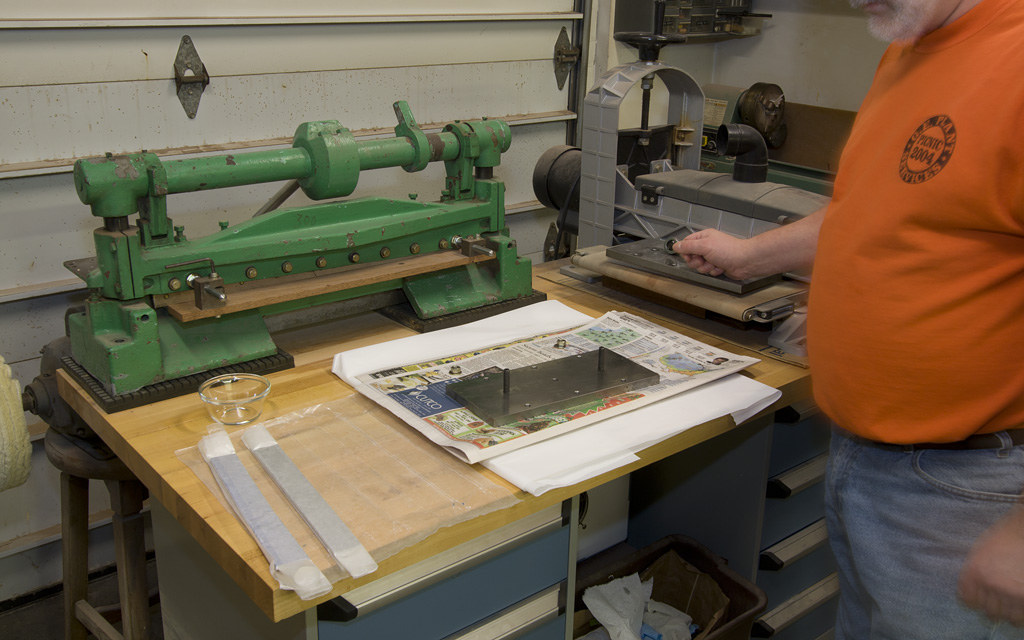
This is the bottom of my veneer press. It's simply a 1/2" thick ground plate with a series of tapped holes which will surround the stacked veneers. This applies maximum pressure evenly around the veneers, insuring that the stack will be parallel after the epoxy sets.
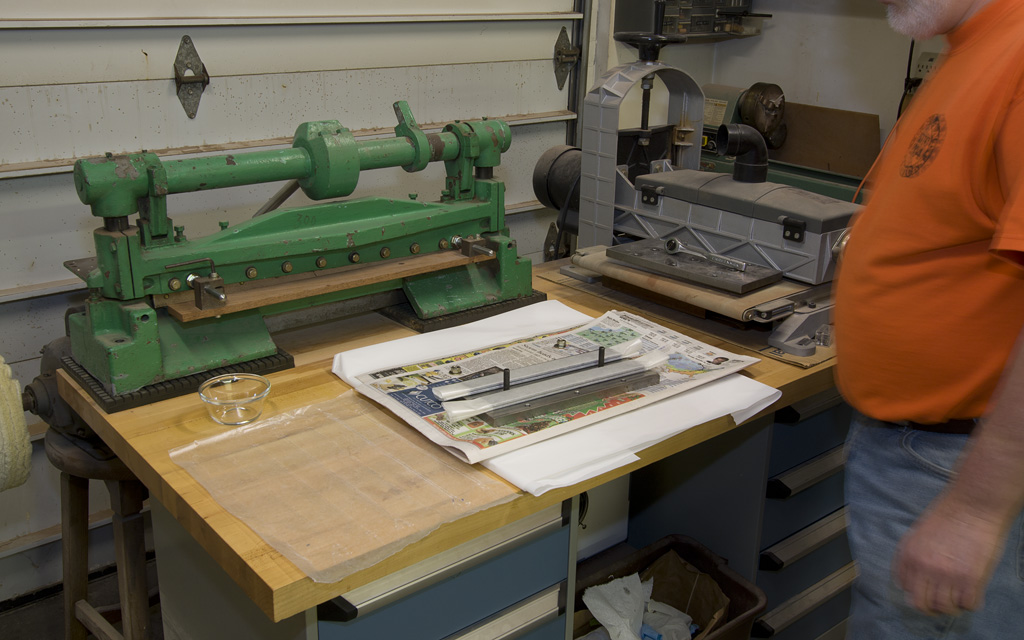
You can see two sets of two veneer stacks ready to be compressed. I will install the top plate, using the long setscrews as guide pins to align the two plates & not disturb the wrapped veneers.
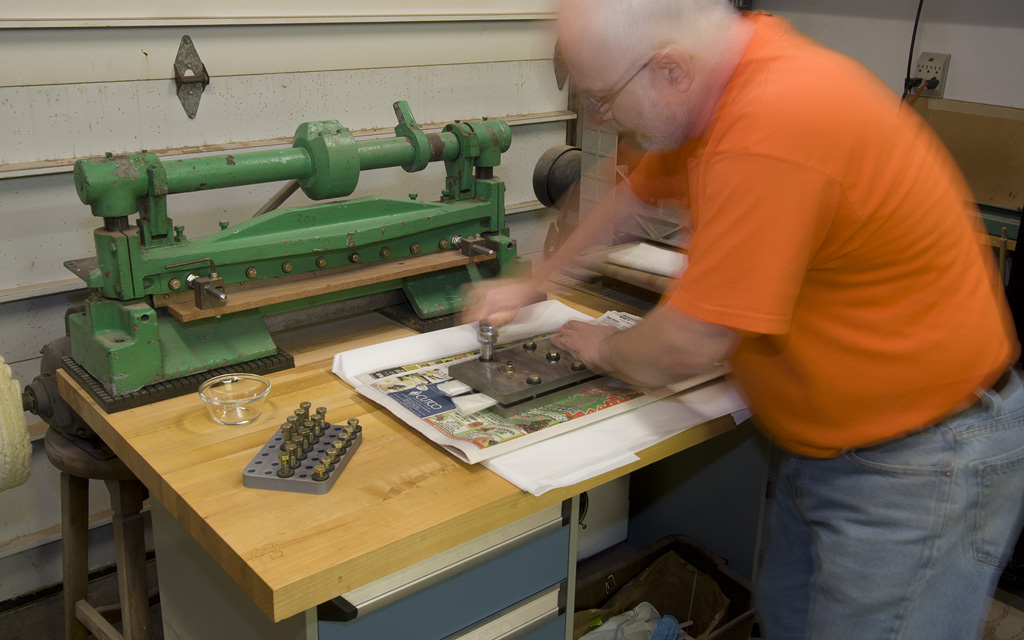
It takes some time to work your way around the 9 bolts as you progressively tighten them, being careful to avoid over-tightening something out of sequence. A little attention here will help keep all the veneer stacks the same size & parallel.
This will now sit for 24 hours to allow the epoxy to cure nicely. I bend the protruding edges of the waxed paper up slightly to prevent any of the glue squeeze-out from leaking all over the place.
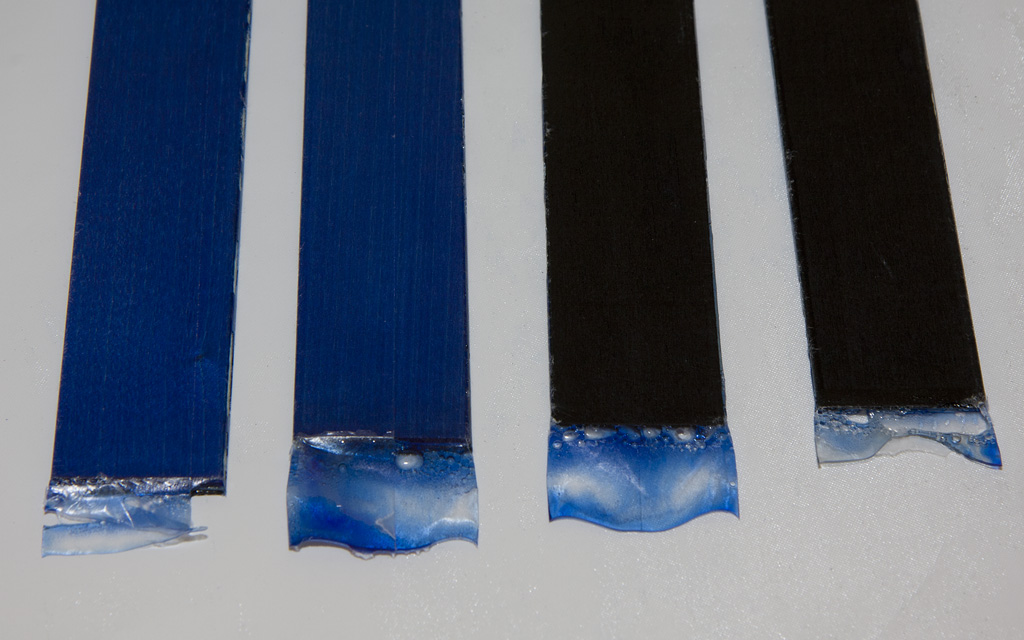
After removal from the press, you can see that there is minimal squeeze-out. The deep color shows that the epoxy has been nicely absorbed and fully saturates the veneers. The thickness of the veneer pack before gluing was .144". After being saturated & compressed, the thickness is now .135".
On page 2, I will cut the miter in a set of veneers.
On page 3, I assemble the veneers & trim the sides.