Honduras Rosewood Burl
(Dalbergia stevensonii)
I was introduced to this beautiful burl by Nancy R. Koerner through her website: Junglepixiebelize Honduras Rosewood Burl and her FaceBook page: The Real Raw Honduras Rosewood Burl Page.
I acquired a new respect for this wood after reading the following articles:
Honduras Rosewood: The World's Most Trafficked Wildlife Product
Burning of Illegal Rosewood: Symbolic Sacrifice or Heinous Act?
Nancy has also recently created a Junglepixiebelize Cuemaker's Page that will cater to cuemakers!!
---------------------------------------------------------------------------------------------------------------
Follow the path of one spectacular piece of HRB as it is transformed from its rough sawn state to usable components in a working pool cue. Please bear with me as building a cue takes time & I wanted to document this in real time. If I have problems, you will see it here. If not, somebody will have a chance at an exceptional cue. I hope I can do this rare commodity the justice it deserves.
All thumbnails can be clicked to view a much larger version of each picture.

This is the piece as received.

Cut into forearm & buttsleeve lengths
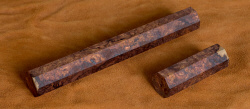
Corners cut off for easier turning.
I was a bit nervous about some minor checking at the corners but when sawing the corners off, there were no loose chunks or fragments that broke off. The checking was apparently a non-issue.
Turned & coated with sealer.
Again, I was concerned about turning this burl - or any burl, for that matter. This is not stabilized but because the burl is hard & solid (with a nice tone), I think the stabilizing medium would have a difficult time penetrating this burl. As with the previous operation, there were no issues.
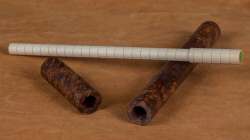
Buttsleeve bored for handle tenon & forearm gun drilled & bored for a step core. The core has glue grooves machined in it to allow the epoxy to "lock" the HRB and core together.
Coring this was a big test but it passed with flying colors. No chip-outs, no problems.
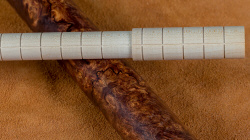
Here's a closer look at the grooves cut into the core.

Core trial fitted and ready for assembly!
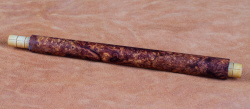
Assembled & taper roughed in. The colors really pop when first cut but
quickly settle down as you can see in the following sequence.
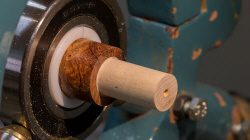
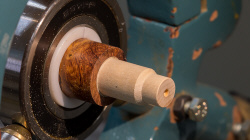
core turned to size, register diameter cut & chamfer applied
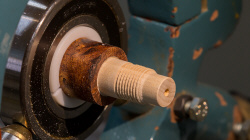
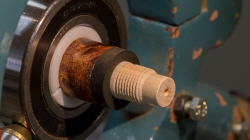
threads cut & trim ring installed
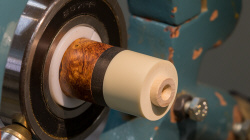
joint collar in place
Please continue to Page 2